Quick Profile Creation
- Enter the client and click “Create Profile” in the upper left corner or in the middle of the interface to create a new environment.
Profile Info Settings
Profile Name:Click the profile name to modify it. After filling in, it is convenient for identification and management.

System:You can choose to simulate Windows, macOS, Android, and iOS system browsers and specify the system version.
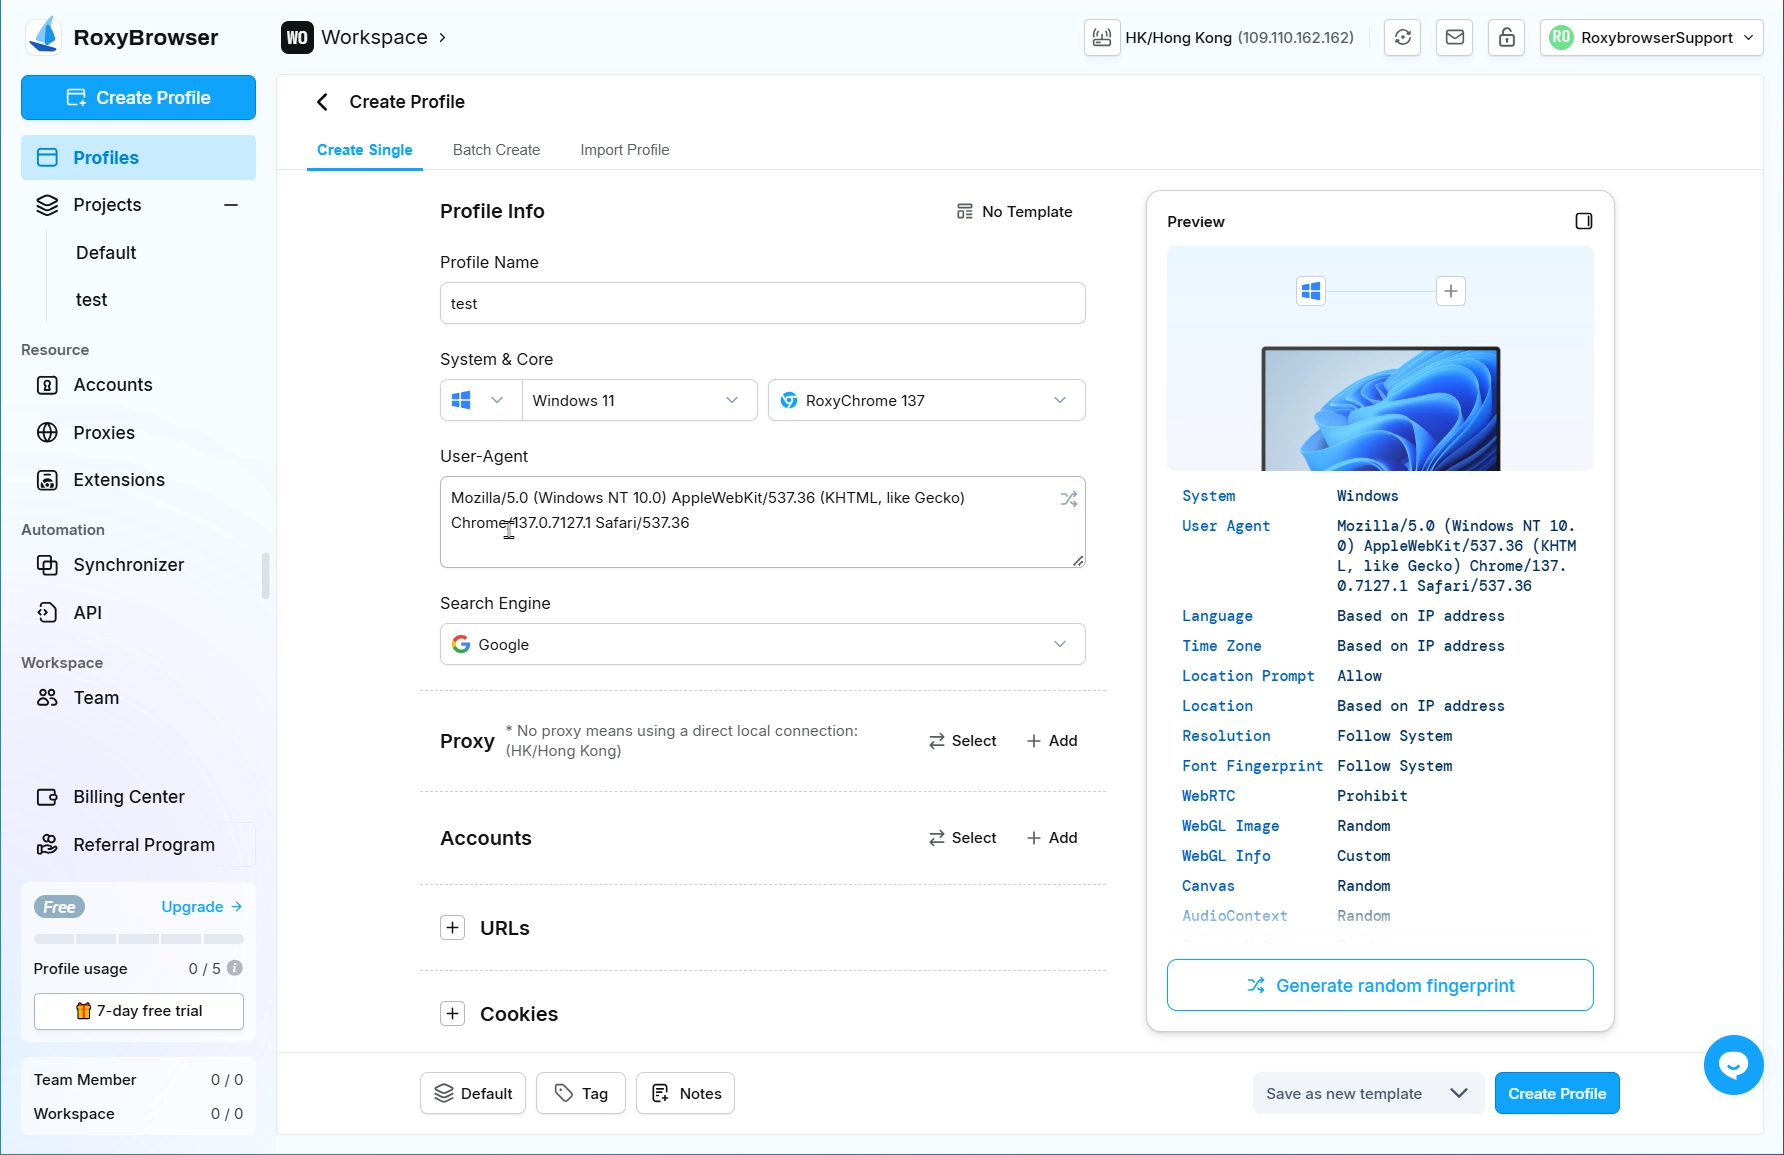
Kernel:You can specify the browser Kernel.

User-Agent:generate on the selected system version and Kernel, clicking Refresh will generate different User Agent. Roxy also supports customizing the User Agent.What is a User Agent?

Search Engine:You can set the default search engine for the profile, e.g. Microsoft Bing, Yahoo, etc. The default is Google.

Proxy:You can choose no proxy or use proxy.Then click "Add", select the proxy type according to the IP information provided by the proxy service provider, and fill in the Proxy host, Port, Username, Password for configuration.
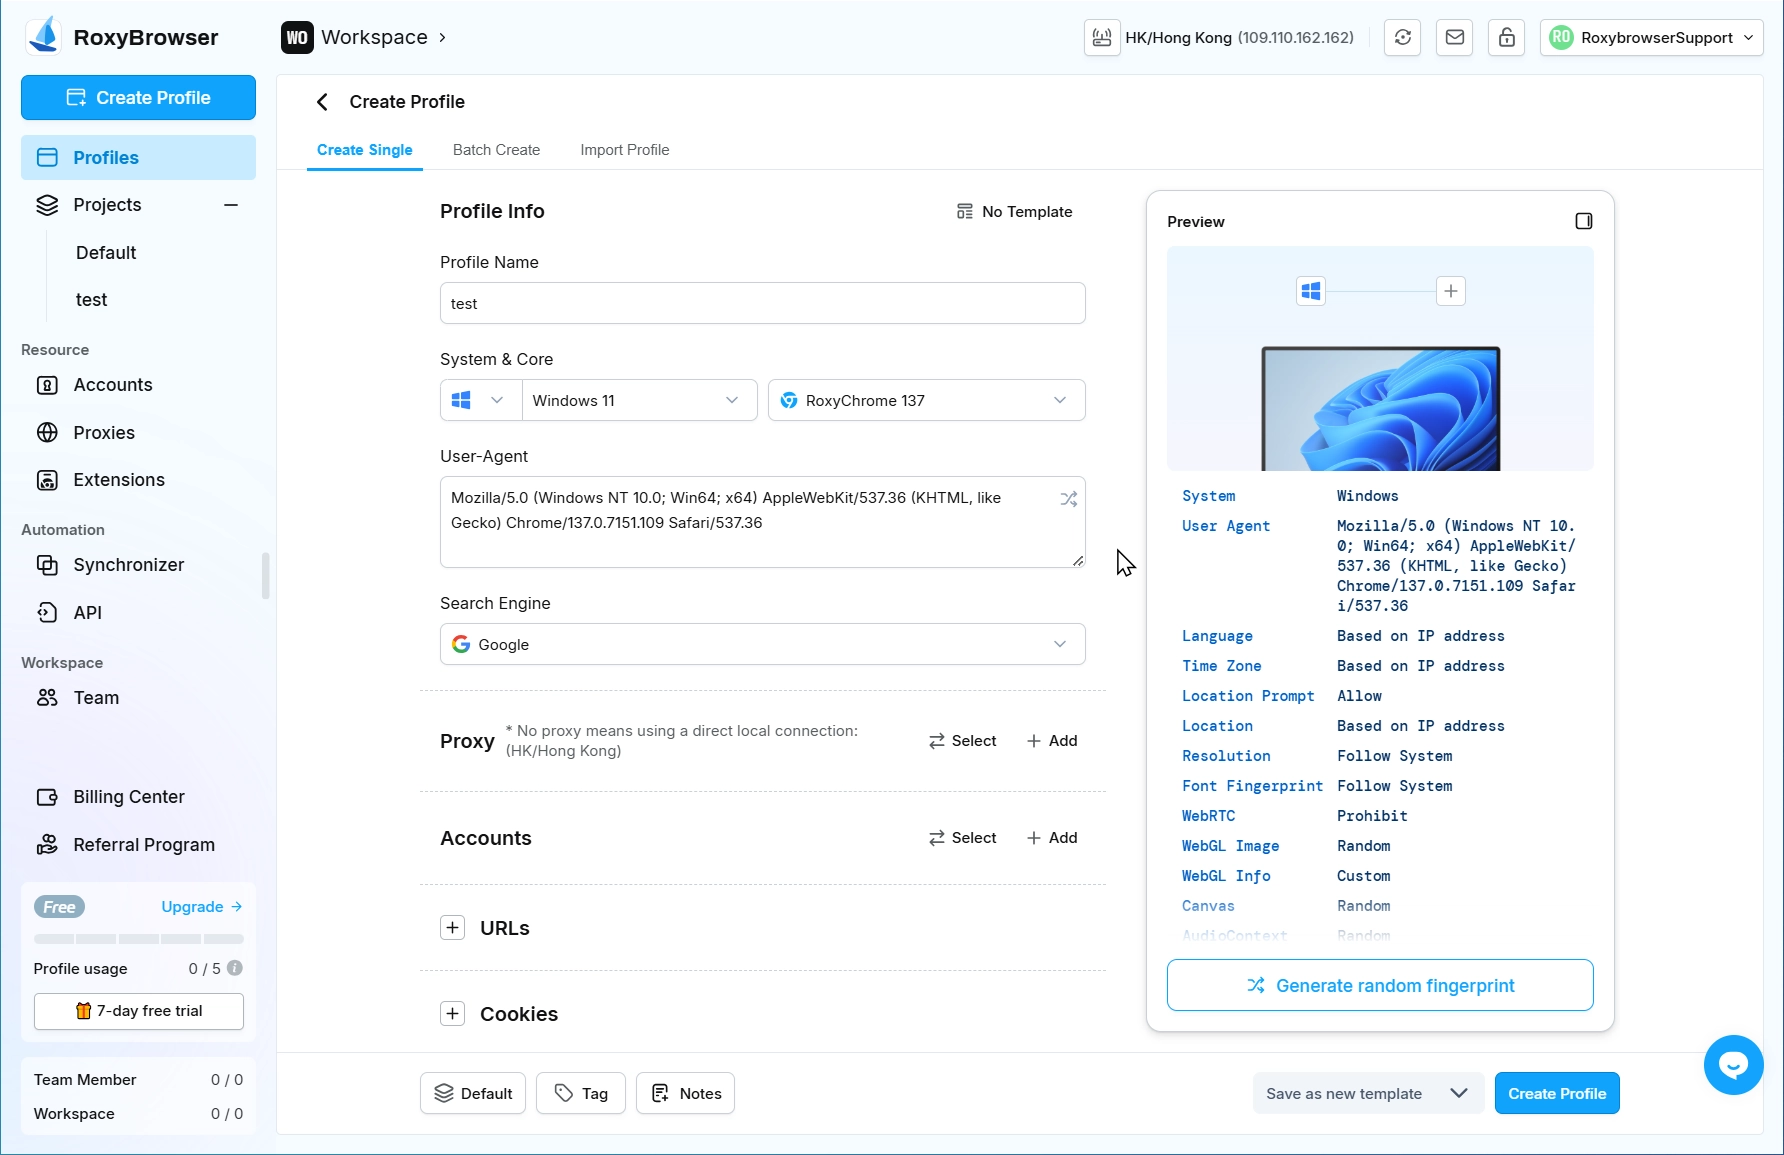
Accounts:Click Add and select the account platform you wish to access. The remaining fields are optional. If the platform URL you need is not listed, you can manually enter your desired business URL in the Platform input field.

Custom URLs:Optional. Enter any platform URL you need to access.
Cookies:Optional. Enter or paste JSON format cookies here or upload a cookies file.

- After configuring the profile settings, you can preview the fingerprint information in the right-side panel. The bottom-left corner displays the current profile's project, tags, and notes - all editable with a single click. Finalize by clicking "Create profile" at the bottom to complete the setup.

TIP
The default parameters have been deeply optimized for mainstream business scenarios. To ensure optimal fingerprint authenticity and system stability, we recommend using the default configuration unless specific customization is required.
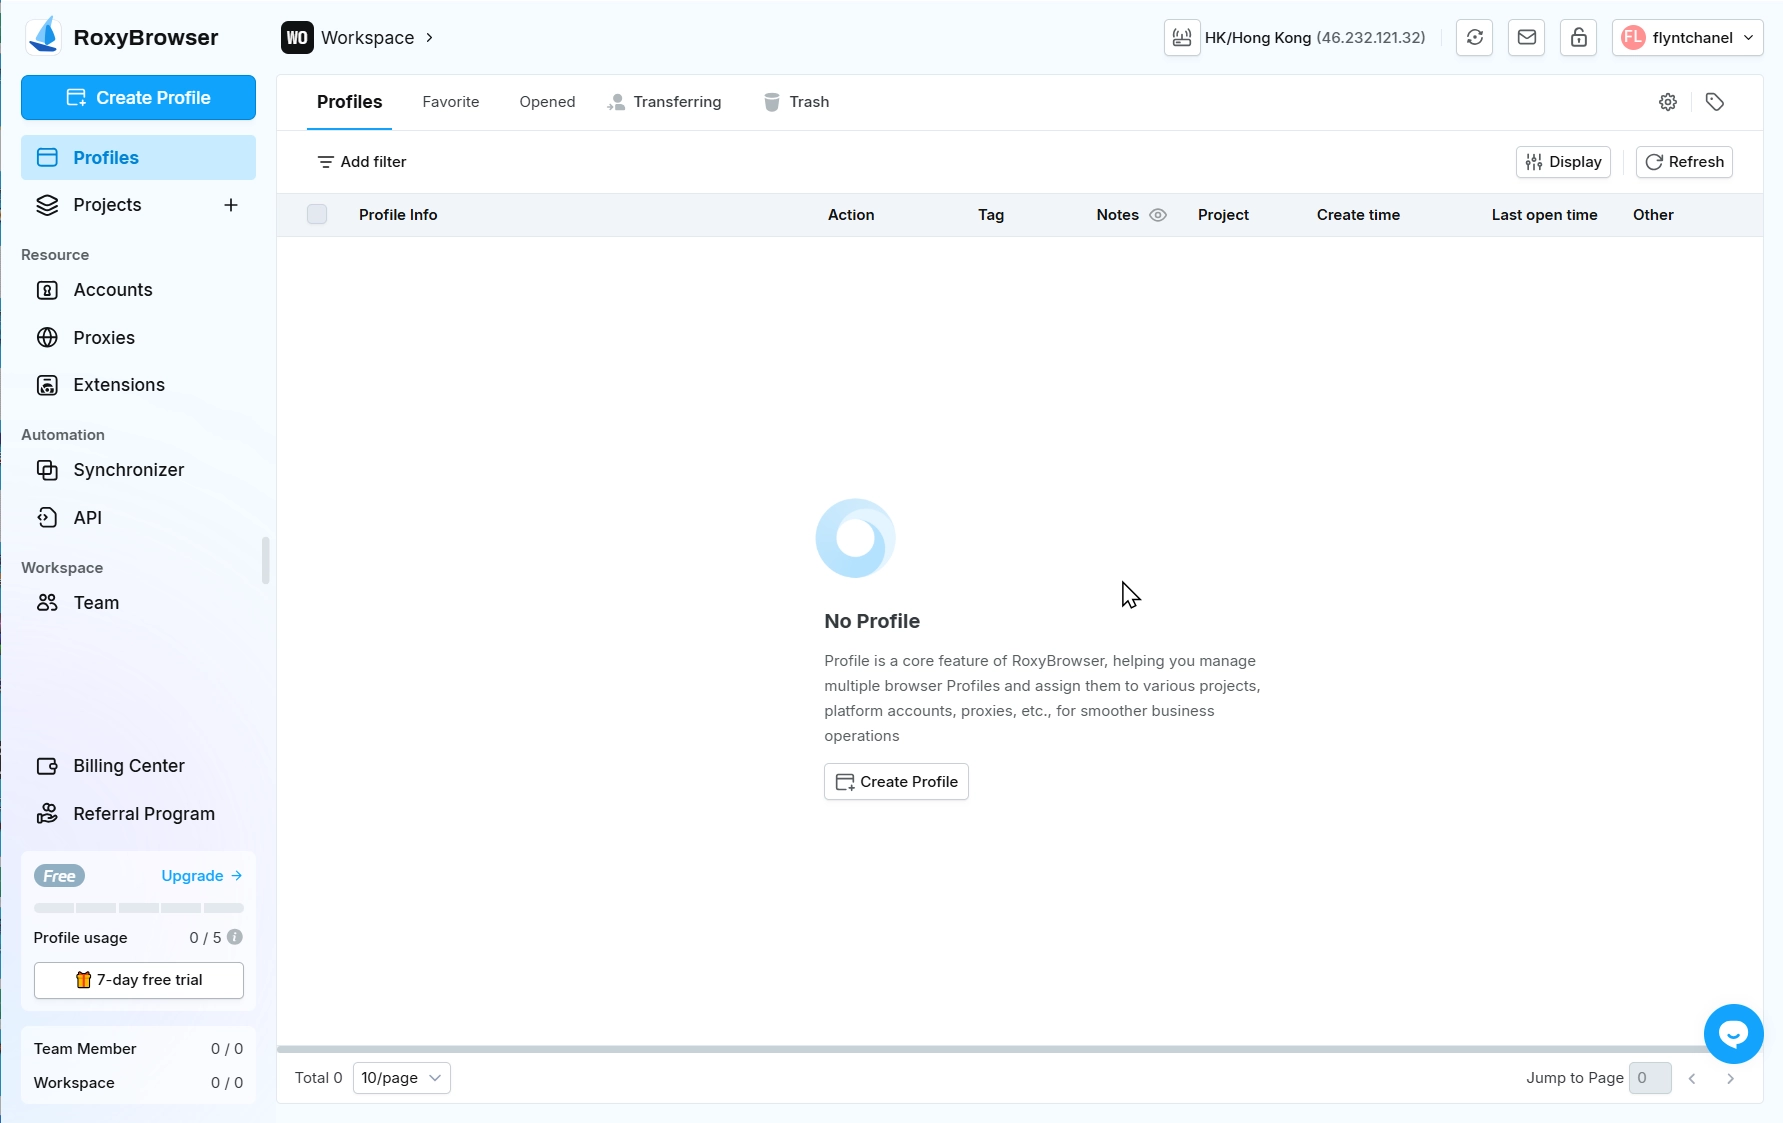
Create Profiles
Open A Profile
After creation is completed, click Open on the main interface to open the profile.
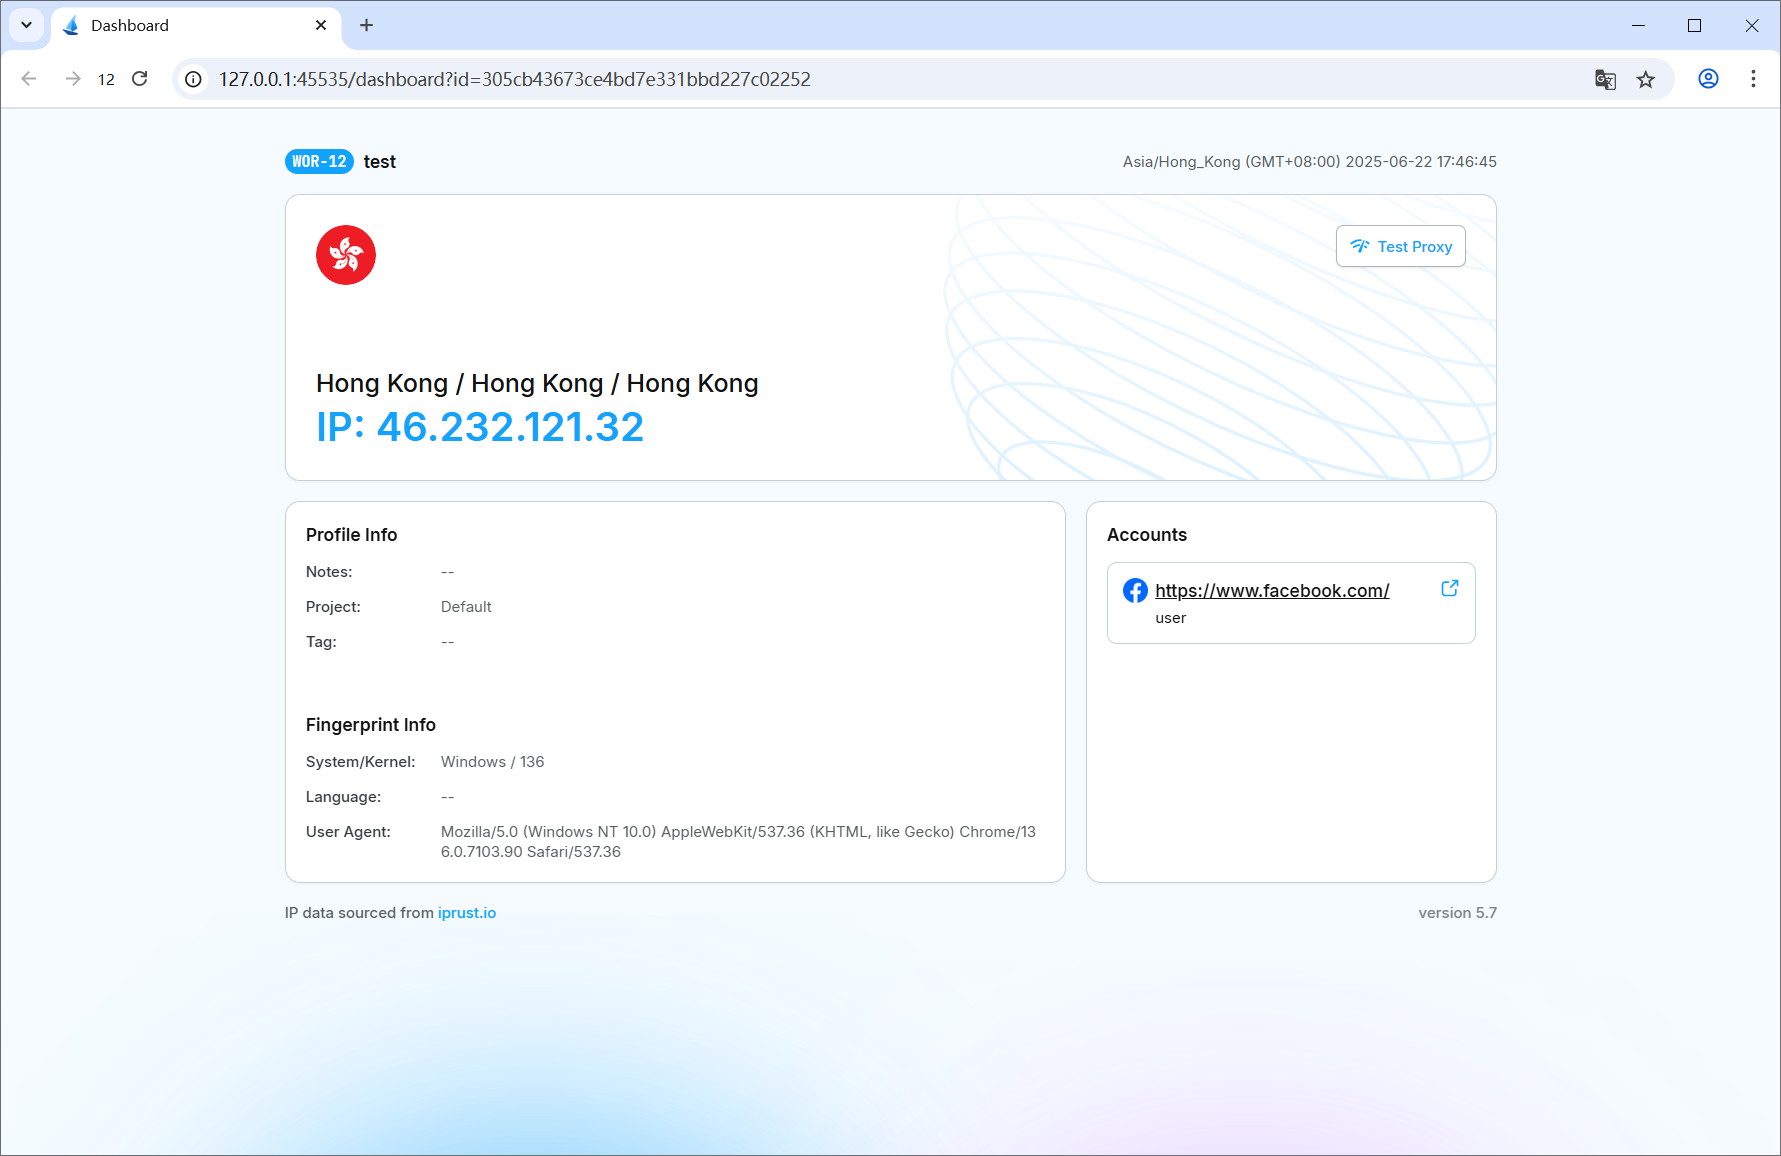
The serial number, profile name and IP information of the current profile will be displayed at the top of the Dashboard.
The profile information, fingerprint information and account information will be displayed at the bottom of the Dashboard.
How to Start Free Trial or Purchase Subscription
After successful registration, you can check your 7-day trial eligibility through:
- "Trial Status" entry at the bottom of the left menu bar
To purchase subscription plans, go to Billing Center and click "Upgrade". Select the corresponding plan version and subscription duration. The right side will display current plan details, discount breakdown, and actual price. For specific plan details, please refer to Subscriptions.